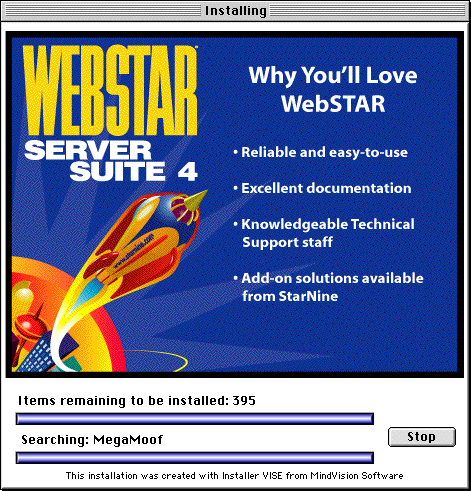
The Installer creates a new WebSTAR Server Suite folder and automatically places the correct files and folders in that folder.
For instructions on upgrading from an existing WebSTAR system , see Upgrading your WebSTAR Server .
The Easy Install sets up the the Web, FTP, Mail and Proxy servers, the Core WebSTAR Plug-Ins required for these servers, useful default files, and examples for you to use. For information, see About the Installed Files .
If you install from the WebSTAR CD, you automatically get the secure Web Server as well: see Installing SSL .
The Custom Install installs other optional Plug-Ins: for details see Custom Installation .
If you download the WebSTAR Server Suite Installer, you can download the smaller Active Installer version or the full version. The Active Installer contains all necessary files for the Easy Install, and will automatically download other files as needed.
The WebSTAR folder will be installed inside the selected disk or folder.
Some Plug-In Modules are not installed by the Easy Install . See Custom Installation .

Allow the Installer to continue until it is entirely finished: there may be pauses in the installation process.
Keep your WebSTAR Server Suite Installer handy: you'll need it for extra Plug-Ins and other features.
If you have problems with installation, you should check the system requirements, and try installing on another disk or machine. For troubleshooting, see Server Troubleshooting .
The WebSTAR Server Suite 4 Installer will install the Apple update files for Appearance Manager and Navigation Services on Mac OS 8.0 and 8.1. In those cases, it will bring up a Restart dialog. Your WebSTAR server will not work properly until you restart with these extensions enabled.
After installing WebSTAR, be sure to read the section Getting Started .
For newer versions of the Mac OS, you will not have to restart your machine after installation.