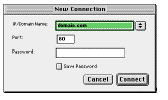
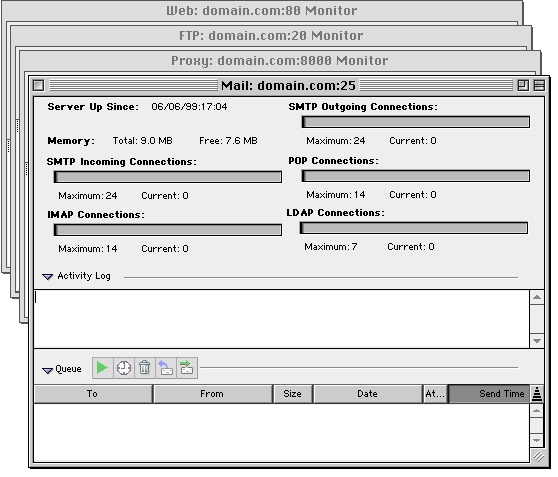
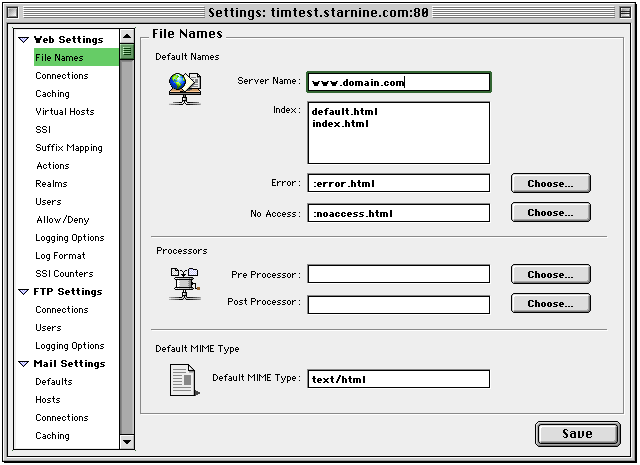
The WebSTAR Admin application allows you to monitor and configure your WebSTAR Server. You can use this application on any PowerPC Mac with access to the Internet. The data communications between the WebSTAR Admin and the WebSTAR server are encrypted, so access is secure.
For more information, see Web Server Administration .
You can also administer some of the server functions, and all the Plug-Ins, from a browser on any machine connected to the Internet. For more information, see Accessing the Browser Admin Pages .

See also: Admin Monitor Windows .


There are a lot of options here for tuning your web server, setting up Virtual Hosts , defining Security Realms , and configuring Log Formats . For detailed instructions, see Web Server Administration . You can also configure the WebSTAR FTP Server , the WebSTAR Mail Settings and the WebSTAR Proxy Server
The browser admin pages allow you to use any web browser, on any system on the Internet, to administer many of the functions and Plug-ins on your server. The browser admin pages are protected by a WebSTAR security realm , so that no one else can change your settings. You'll need to create a password to access these pages.
See also: Security Realms .
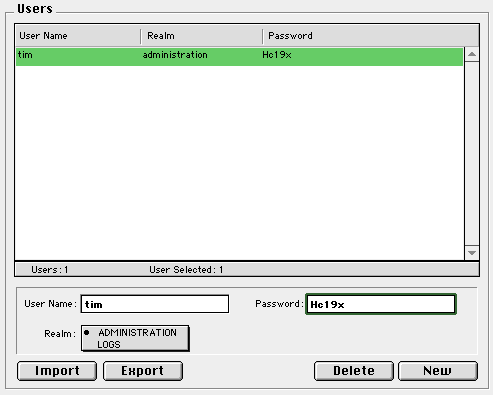
When you install WebSTAR for the first time, the default administration security realm, ADMINISTRATION is already set up. This limits access to the Browser Admin pages, so no one else can change your server settings. You must add a user name and password, so that you can use the Browser Admin.
See also: Web Users and Passwords .

From your web browser, enter the browser admin URL, which is your server's name followed by " pi_admin.admin ", for example:
http://www. domain.com /pi_admin.admin
Now enter the Administration User Name and Password for access. You'll be able to administer many of the server features, as well as many Plug-Ins using this interface. You may want to bookmark the page for future reference.
If you use a specific machine or group of machines to do your administration, you can set up an "Allow" entry for this realm to avoid the password. Follow the instructions in the section Allow/Deny .